TBCS P2 - Hardware and Signal Flow
Welcome to Part Two of this series.
In this chapter, we’re going to talk about hardware and signal flow.
If you’re just coming across this chapter and you haven’t read the introduction or Part One, I strongly recommend you start from the beginning. The earlier chapters lay the foundation for why we do what we do. Without that context, the hardware can quickly become confusing and feel meaningless.
This series is not trying to turn you into the best audio engineer just by reading a few articles. It doesn’t even cover everything you need to know about audio. What it does give you is a clear learning path — step by step — and points you to resources that will help you go deeper.
Each part builds on the previous one.
Resources:
- How to setup a sound system for Live events | Audio University
- Step-by-Step Guide to Setting Up a Sound System for a Live Event | Audio University
- Understanding Signal Flow | ProAudioExp
- Signal Flow Explained | Nyc Studio Engineer
- 4 Types of Microphones Explained | Music Sequencing
- Choosing Speakers | Audio University
If you have the money to spend, I really really really reaalllly encourage you to take SynAudCon's Course 50 - How Sound systems Work. This is one of the courses that changed my entire perception of audio. In fact, that was where I first learnt what signal chain is, and I don't think I've seen any other resource teach it better.
Of course you can learn about it anywhere else, it's not a MUST, but it's a good investment. Anyways, let's get started.
What Do We Mean by Hardware and Signal Flow?
Let’s start simple.
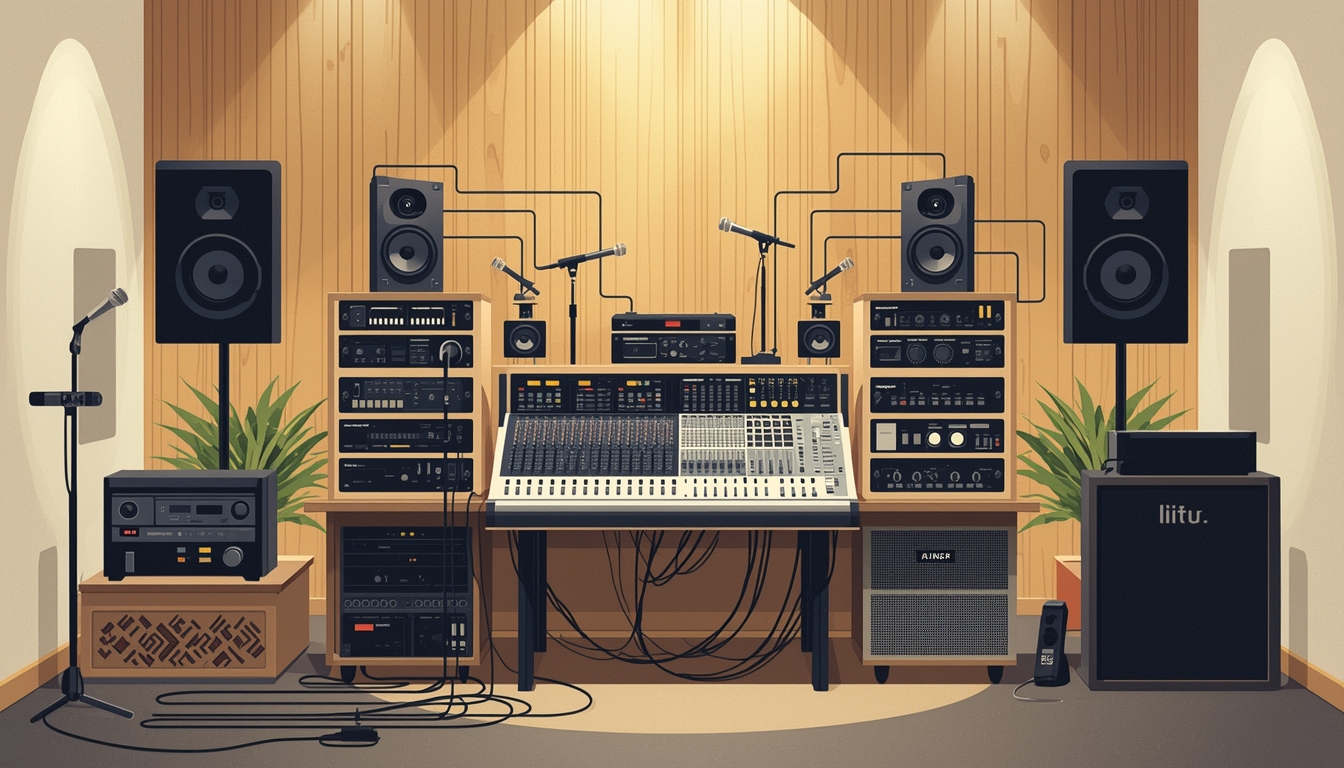
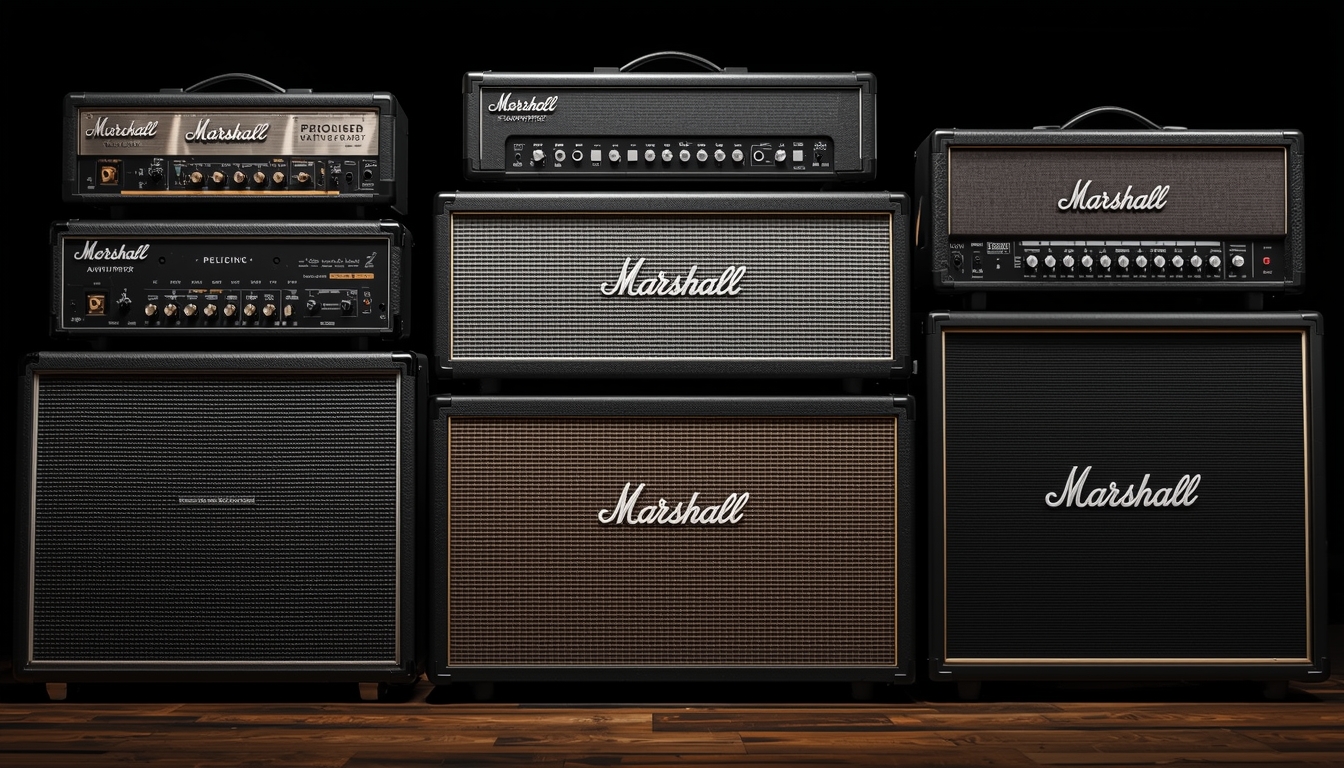
Hardware refers to the physical equipment involved in sound:
- microphones
- mixers
- processors
- amplifiers
- Loudspeakers
Signal flow (or signal chain) describes how sound moves through these pieces of equipment — from where it is created to where it is finally heard. So, it's just equipments, and how sound/audio moves through them.
Before we explain anything in detail, I want to show you the entire picture first.
The Five Stages of a Signal Chain
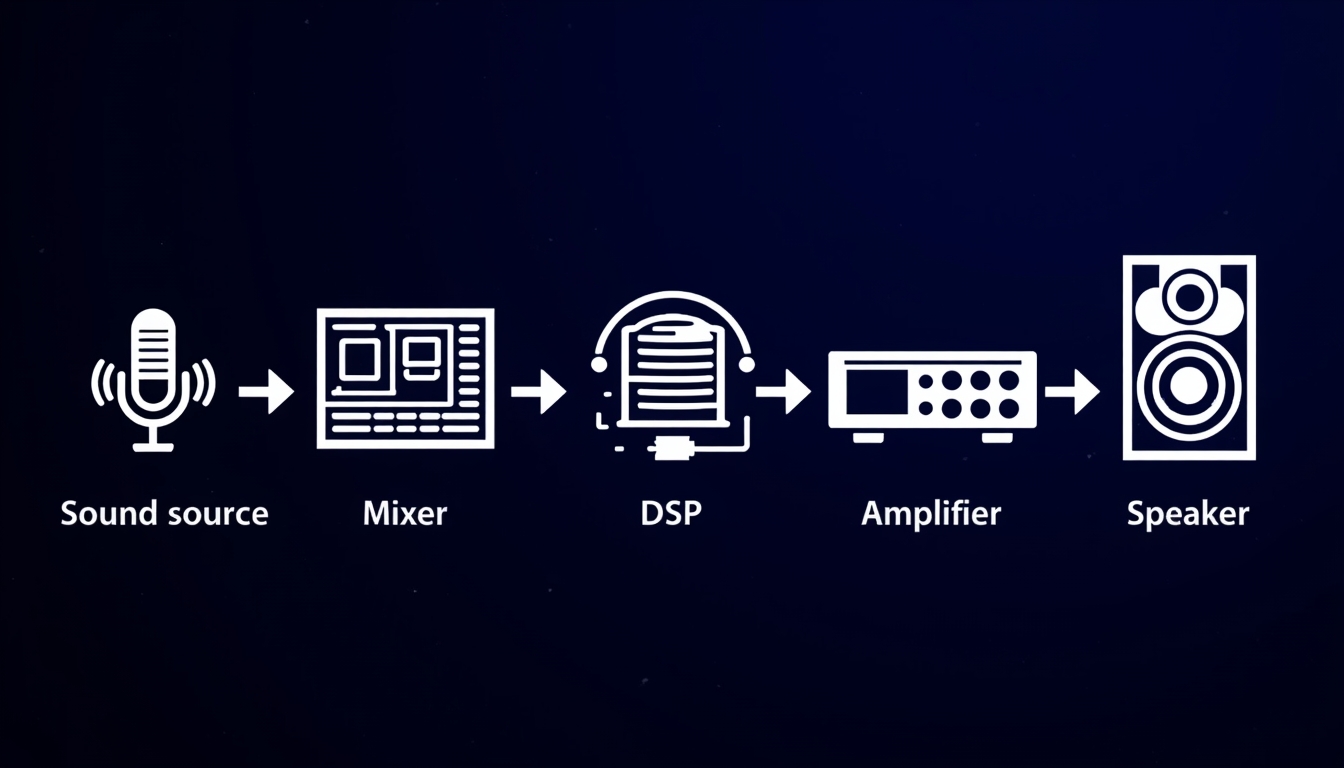
At a high level, every live sound system follows the same basic structure.
There are five stages:
- Sound Source
- Mixer
- Signal Processing (DSP)
- Amplifier
- Loudspeaker
At each stage, you may have one device or many devices, but conceptually, the flow always follows this order.
Let’s break this down slowly.
Stage 1: Sound Source
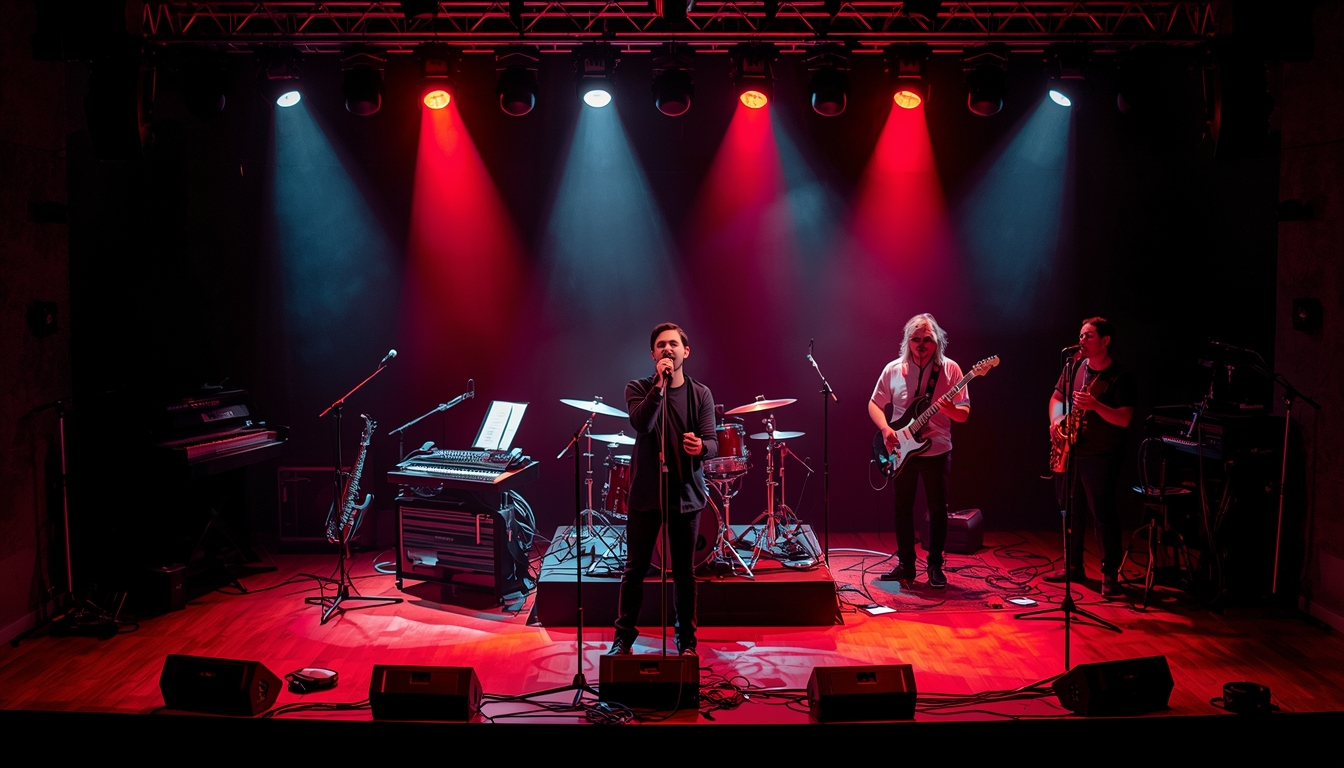
The sound source is where sound is created.
This includes:
- vocals
- microphones
- keyboards
- guitars
- bass
- drums
- playback devices
Anything that produces sound belongs to this stage.
This is also a good point to clarify something important:
Sound vs Audio
People often use the words sound and audio interchangeably, and in everyday conversation that’s fine. But technically, they are not the same thing.
- Sound is acoustic. It exists in the air.
- Audio is electrical. It exists inside equipment.
Your voice is sound.
Your Acoustic guitar produces sound.
If you can hear it, it's Sound...
But your mixer, cables, processors, and amplifiers do not work with sound — they work with audio signals (electricity).
The job of the first stage is to convert sound into audio. Once it's converted, and it's inside a wire, and moves through your equipments, it's audio. I'll try to clarify this point all through the series
Microphones: The Bridge Between Sound and Audio
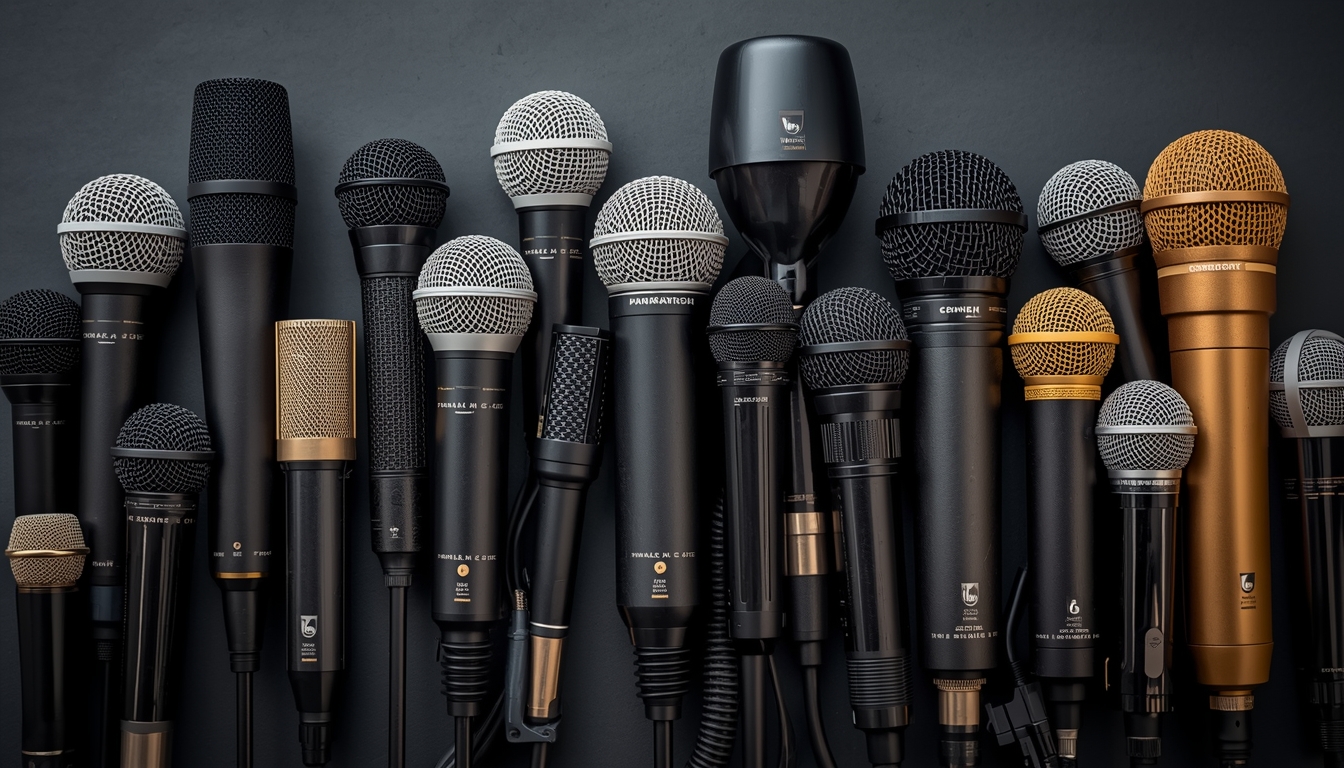
Take a singer, for example.
The singer produces sound using their voice. That sound travels through the air. The microphone captures that sound and converts it into an electrical audio signal.
From this point onward, everything in the system is dealing with audio, not sound.
This is a very important concept:
Sound becomes audio at the microphone,
and audio becomes sound again at the loudspeaker.
Stage 2: The Mixer

Once the audio signal leaves the sound source, it goes into the mixer.
The mixer is where:
- multiple sound sources come together
- you can adjuste the levels
- you can shape the tone
- you can create balance between those sources so everything doesn't sound chaotic
Think about any song you enjoy listening to.
You don’t hear all instruments at the same volume.
Sometimes the kick drum is loud.
Sometimes the vocals are upfront.
Sometimes a guitar is barely noticeable.
The mixer is where you decide what should be heard and how much. Don't worry if you're not familiar with your mixer just yet, we'll go deeper into details on mixing and how to use mixers later in this series.
Whether you’re using an analog mixer or a digital console (Behringer X32, Midas M32, Allen & Heath, Yamaha, etc.), the purpose is the same.
Each sound source comes into its own channel.
All channels are shaped and balanced.
Then everything is combined into outputs.
A Note on Inputs and Outputs
Almost every piece of audio equipment follows a simple rule:
The output of one device connects to the input of the next.
For example:
- the output of a microphone connects to the input of the mixer
- the output of the mixer connects to the input of the amplifier
- the output of the amplifier connects to the input of the loudspeaker
Understanding this single idea will save you a lot of confusion.
Stage 3: Signal Processing (DSP)
After mixing, the signal may pass through signal processing.
This includes things like:
- EQ
- dynamics
- delays
- system tuning
In many modern digital mixers, this processing is already built in. You may never see a separate DSP unit, but that doesn’t mean it isn’t happening.
The purpose of DSP is majorly refinement, to make everything very balanced, not really loudness. As a sound engineer, you're ALWAAYYYYSSS striking for balance. The balance we're talking about is not that everything sounds equally loud, the balance is that, the needed proportion of each sound source is present.
Stage 4: The Amplifier
At this point, the signal coming from the mixer is still too weak to drive a loudspeaker.
This is where the amplifier comes in.
The amplifier increases the strength of the audio signal, so that it's at a state that your loudspeaker can work with. Amplifiers do not add clarity or quality — they add power, selah.
Stage 5: The Loudspeaker
Finally, the amplified audio signal reaches the loudspeaker.
The loudspeaker converts the electrical audio signal back into acoustic sound that people can hear.
This completes the journey:
Sound → Audio → Sound
I'm sure you've heard of things like FOH, delays, stage monitors, etc. You can read more on what they mean, and what kind of speakers are used for that here.
Active vs Passive Loudspeakers
One important thing to note here:
Not all systems use external amplifiers.
- Passive loudspeakers require an external amplifier.
- Active loudspeakers have amplifiers built into them.
If your loudspeaker is active, you can connect your mixer directly to it.
If it’s passive, you must route the signal through an amplifier first.
Both systems follow the same signal flow — the amplifier just exists in a different place.
Understanding hardware and signal flow helps you to troubleshoot problems faster because you can see it in your head, you know where issues originate and you can diagnose things quickly, you start avoiding random guesses. Just by really understanding signal chain, you can relate more with your church setup.
You stop seeing equipment as “mysterious boxes” and start seeing them as purpose-driven stages in a system.
Final Encouragement
This chapter gives you a general overview, not deep mastery.
I strongly encourage you to go through the resources linked with this chapter (you can find it at the beginning of this page):
- Watch the videos (take your time, don't rush it)
- Look at real equipment. Sit down with your church setup, trace it, dismantle it (with the permission of your unit head please 😂). Be curious, ask questions.
This article points you in the right direction — but growth requires diligence on your part. You have to take the time to learn beyond church. That's the only way you can truly grow.
Don’t rush ahead without understanding this foundation.
See you in the next chapter.